Setting Up Your Landing Page
Your landing page showcases your Webinar to your audience and allows them to sign up as attendees. It's your best friend when it comes to marketing; that's why we made sure it's easy to configure, right from your Webinar page.
You can customize your landing page images, icons, colors, text, formatting and much, much more!
To get started creating your landing pages, select your desired community from under Your communities or click on Dashboard, in the top navigation menu. Now select Pages, in the left side menu. Here's where you can get creative!

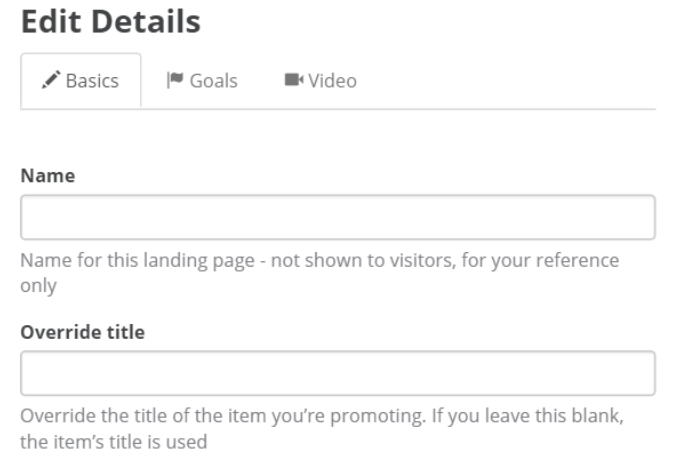
Edit your Basic Landing Page Details
- Go to the Basics tab.
- Add a Name - This is not shown to visitors, it's for your reference only
- Override the title - Override the title of the item you’re promoting. If you leave this blank, the item’s title is used.
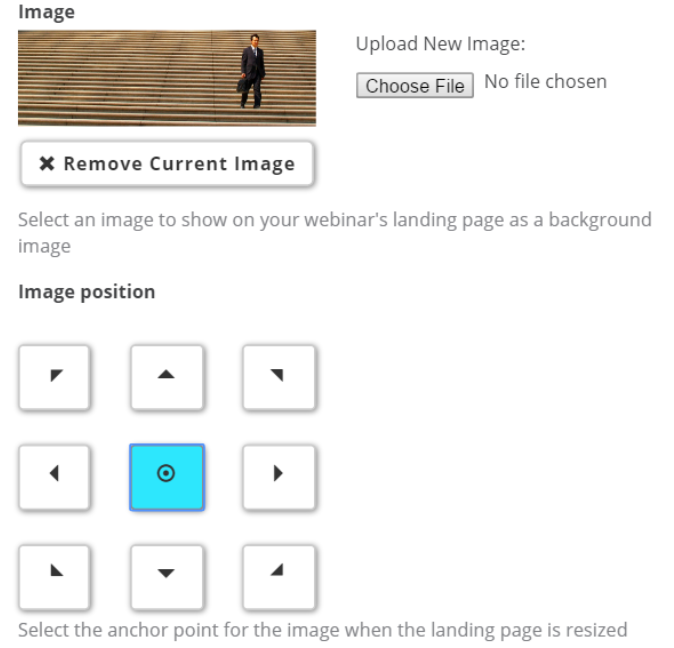
- Select an image to show on your landing page as a background image.
- Choose the Image position - You can select the anchor point for the image when the landing page is resized.
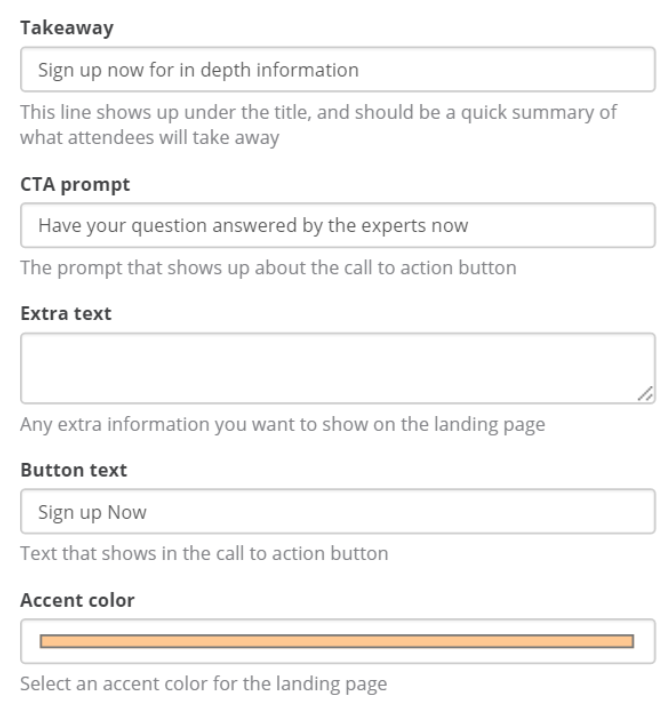
- Add a Takeaway line This line shows up under the title, and should be a quick summary of what attendees will take away. Example: 'Learn how to use webinars to build a global pipeline of clients from your desk.'
- Add a CTA prompt that shows up about the call to action button. For example: "Have your question answered by the experts now"
- Add Extra text - This could include any extra information you want to show on the landing page, right above the CTA prompt.
- Choose your Button text that shows in the call to action button - for instance: "Sign Up Now". You can customize this button to fit your webinar content or according to whether the webinar is live or a replay from an evergreen recording.
- Select your Accent color - click the color stripe to access a complete color palette to choose from.
Set up Your Goals
These goals will show up on the Landing page and will show potential attendees the clear elements that you want to focus on.
You can add three goals to your page. For each goal, tyou can choose an icon, title and text. You will see the same fields for each goal. Let's set one up:
- Make sure you are in the Goals tab and start with Goal One.
- Choose your icon - Click the icon on the left to open the list of available icons. Enter a keyword in the Search icons field or scroll down the list to find a suitable icon. Click the one you want and it will be added to your page right away.
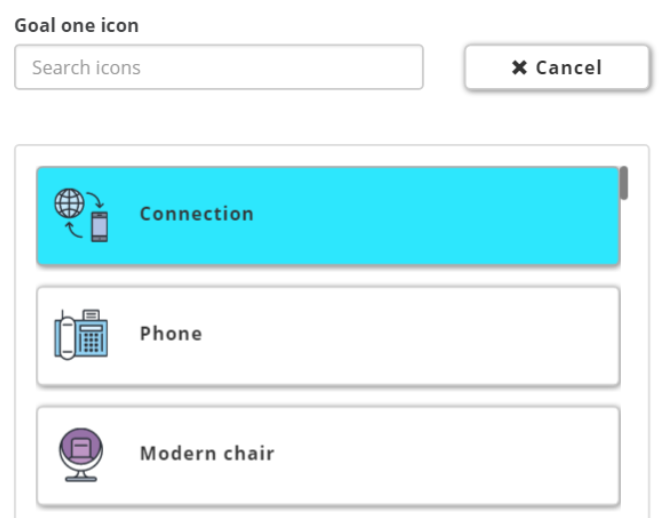
- Click Color to add a color icon; or Mono to keep it monochromatic.
- Enter your Goal Title - For example "Build Your Audience'
- Enter your Goal Text - This is the description for the webinar goal.
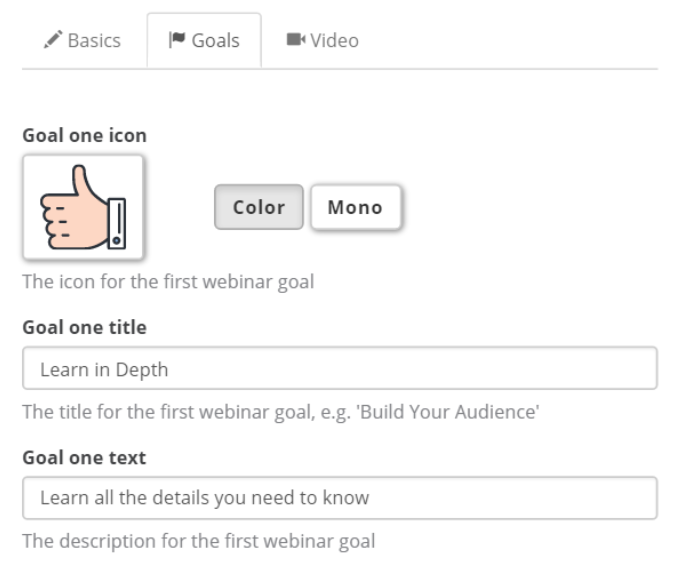
Continue this way until you'll have configured all of your three webinar goals.
Add Video
You can add a video that will be displayed right under your landing page header; above the goals. The video will also be displayed when your anding page is shared on social media.
You can choose to add a video from your video library, record or upload a new video. You have the option to also edit any video you choose to add. You don't have to add a video though; this is completely up to you.
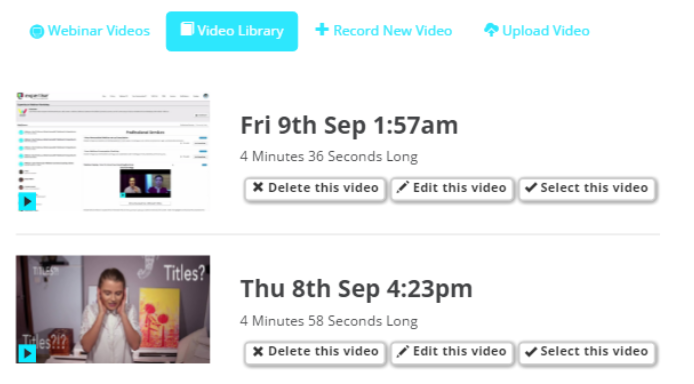
- Click Video Library to select a video that you have previously recorded or uploaded.
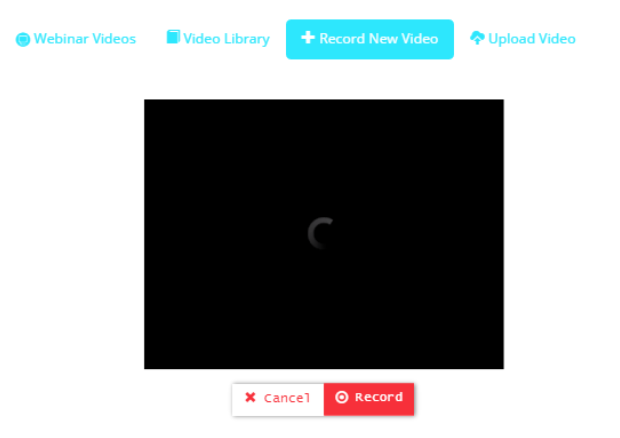
- Click Record Video to start your webcam and record a new video for your landing page. Click the red Record button to being.
- Upload Video from your computer Click the Upload Video File button to proceed. Your video files need to be in mp4 format to be uploaded.

- Once you have selected your desired video, it will automatically be added to your landing page Layout.
Preview your landing page
You can preview on the right side of your screen - Any changes you make will automatically be updated in the preview as well as in the live landing page. The preview landing page is using a webinar’s host and date details as an example. To make this landing page live you need to link it to one or more webinars. Go to the Landing Page tab, when creating or editing a webinar, to link this landing page to a webinar and create the URL for that landing page funnel. When you choose a webinar here, you are not linking the page; just using the webinar's data for preview purposes.
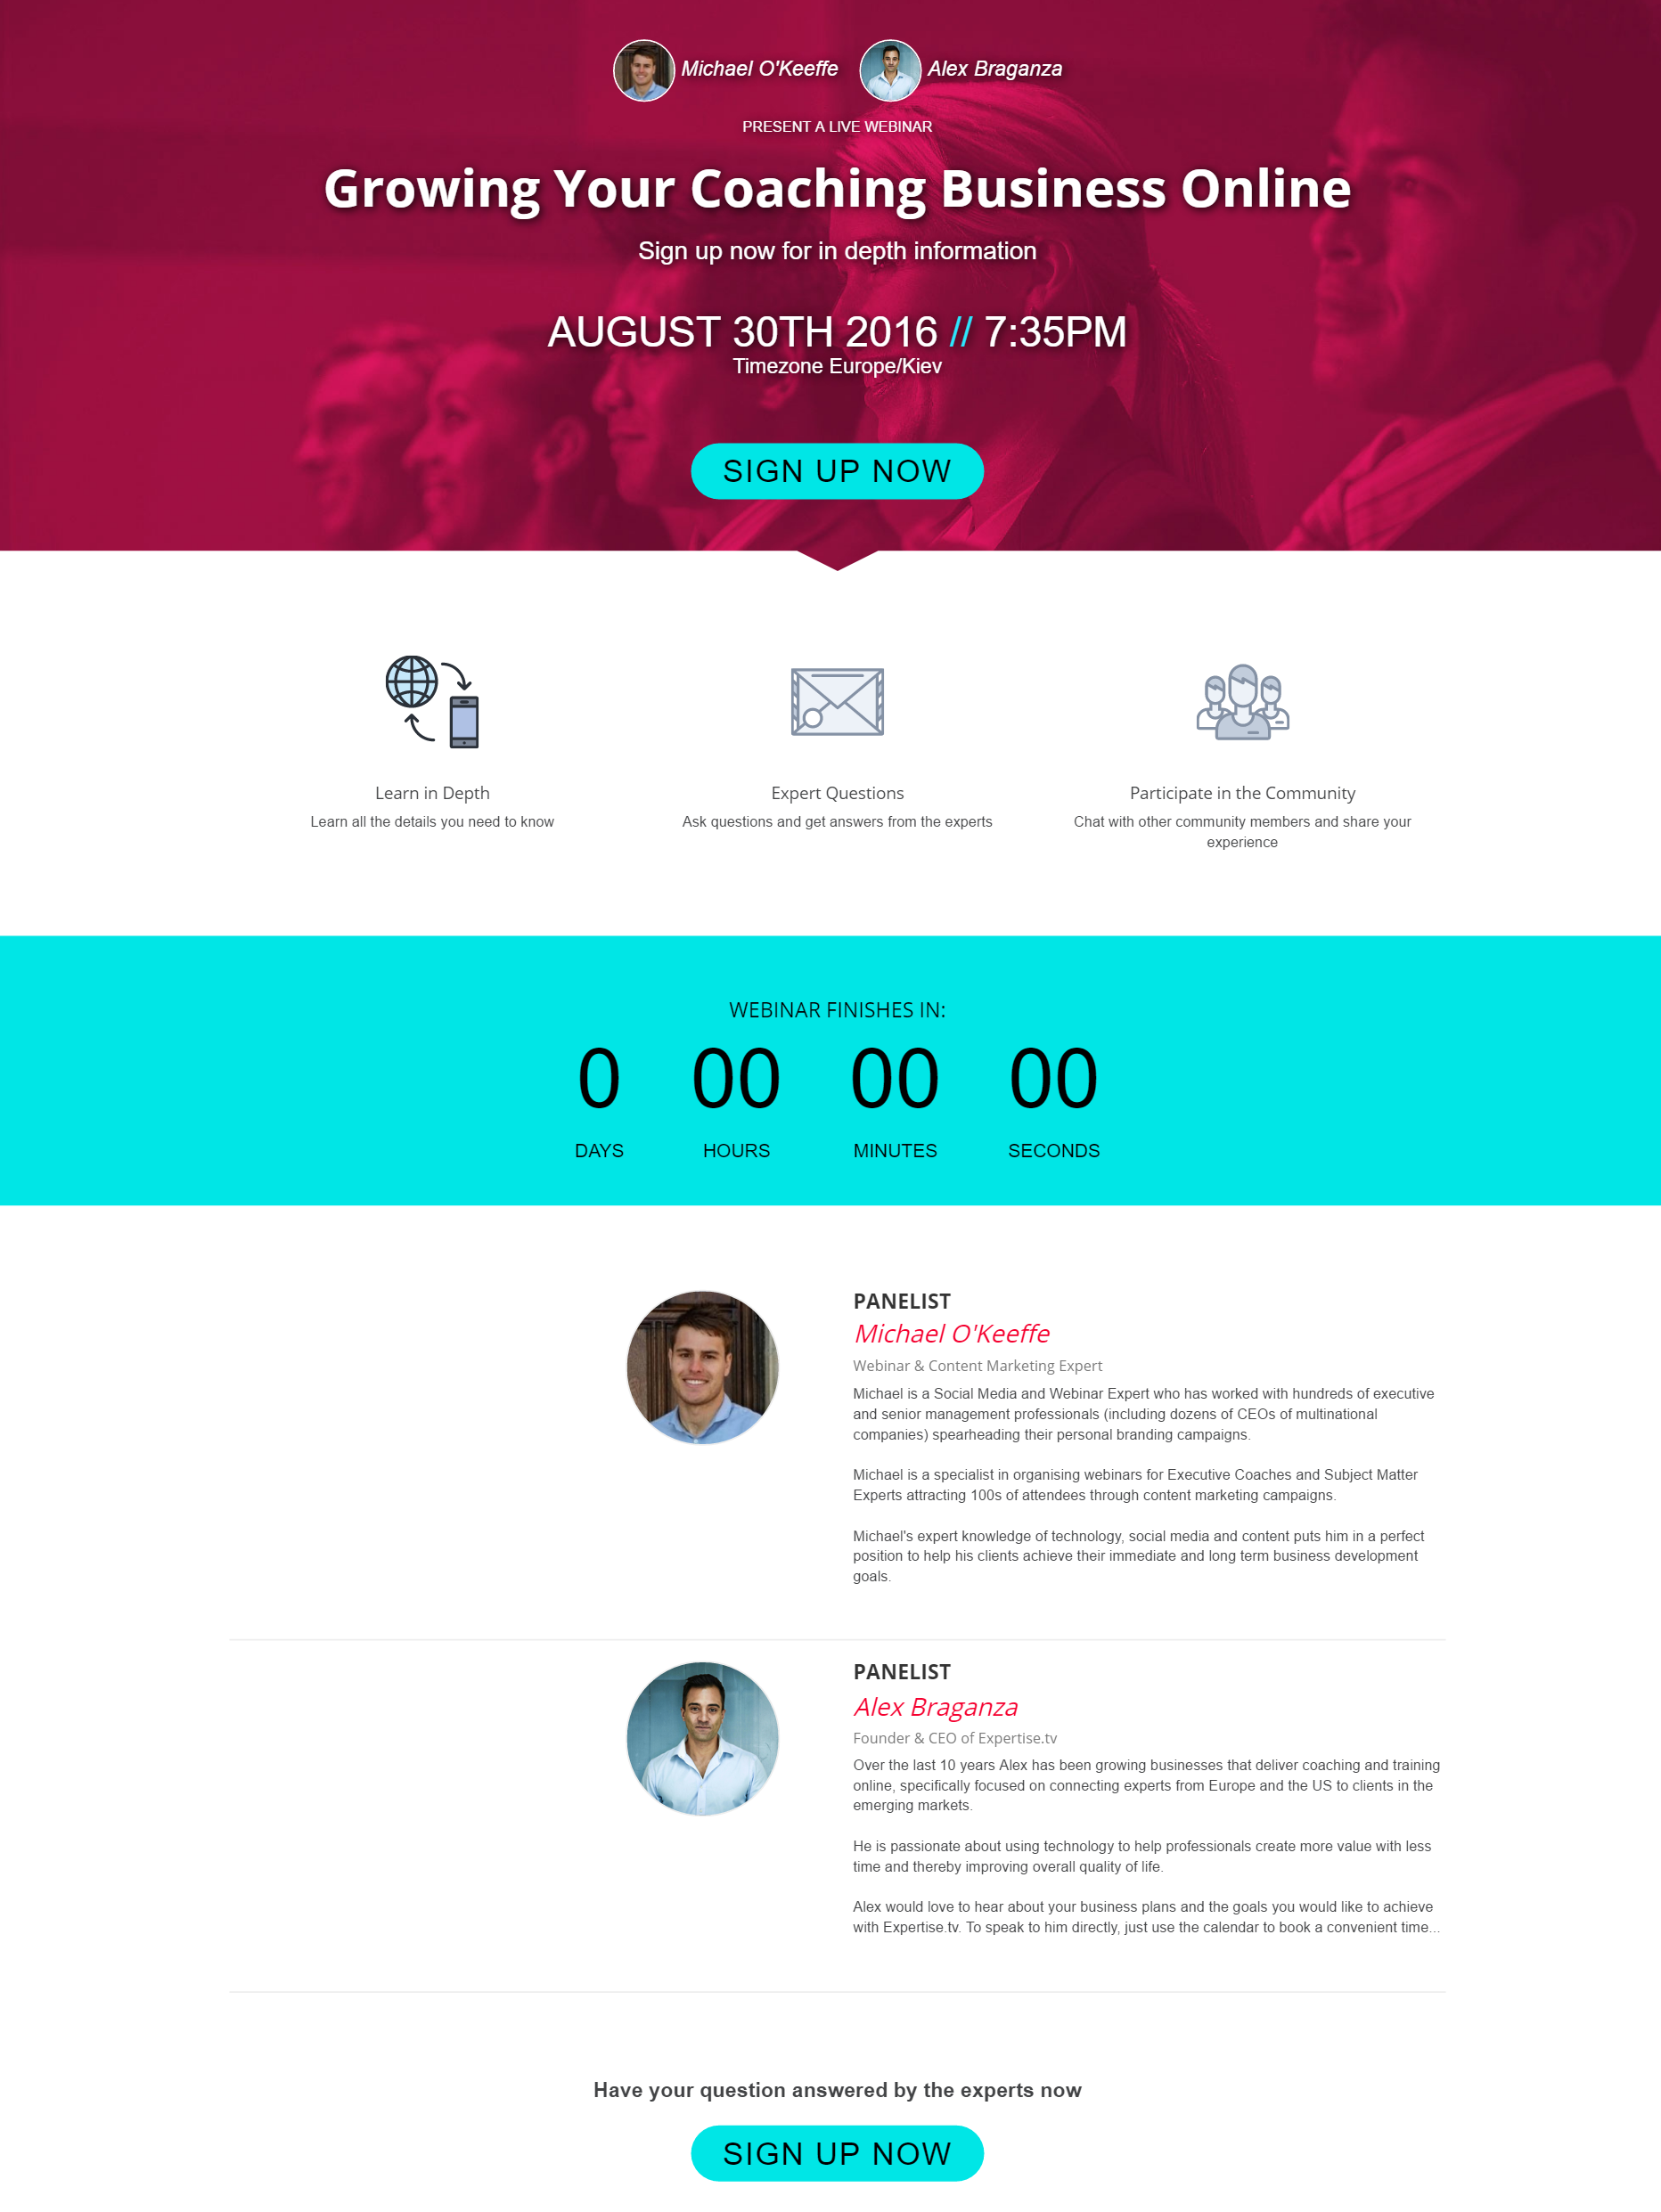
Click Create New Landing Page when you are ready!
Once the webinar start time arrives, the landing page will change to show that the webinar has started and will display a countdown to when it ends, based on the time entered for the webinar duration when setting it up. This will ensure that latecomers still sign up even though it has already started.
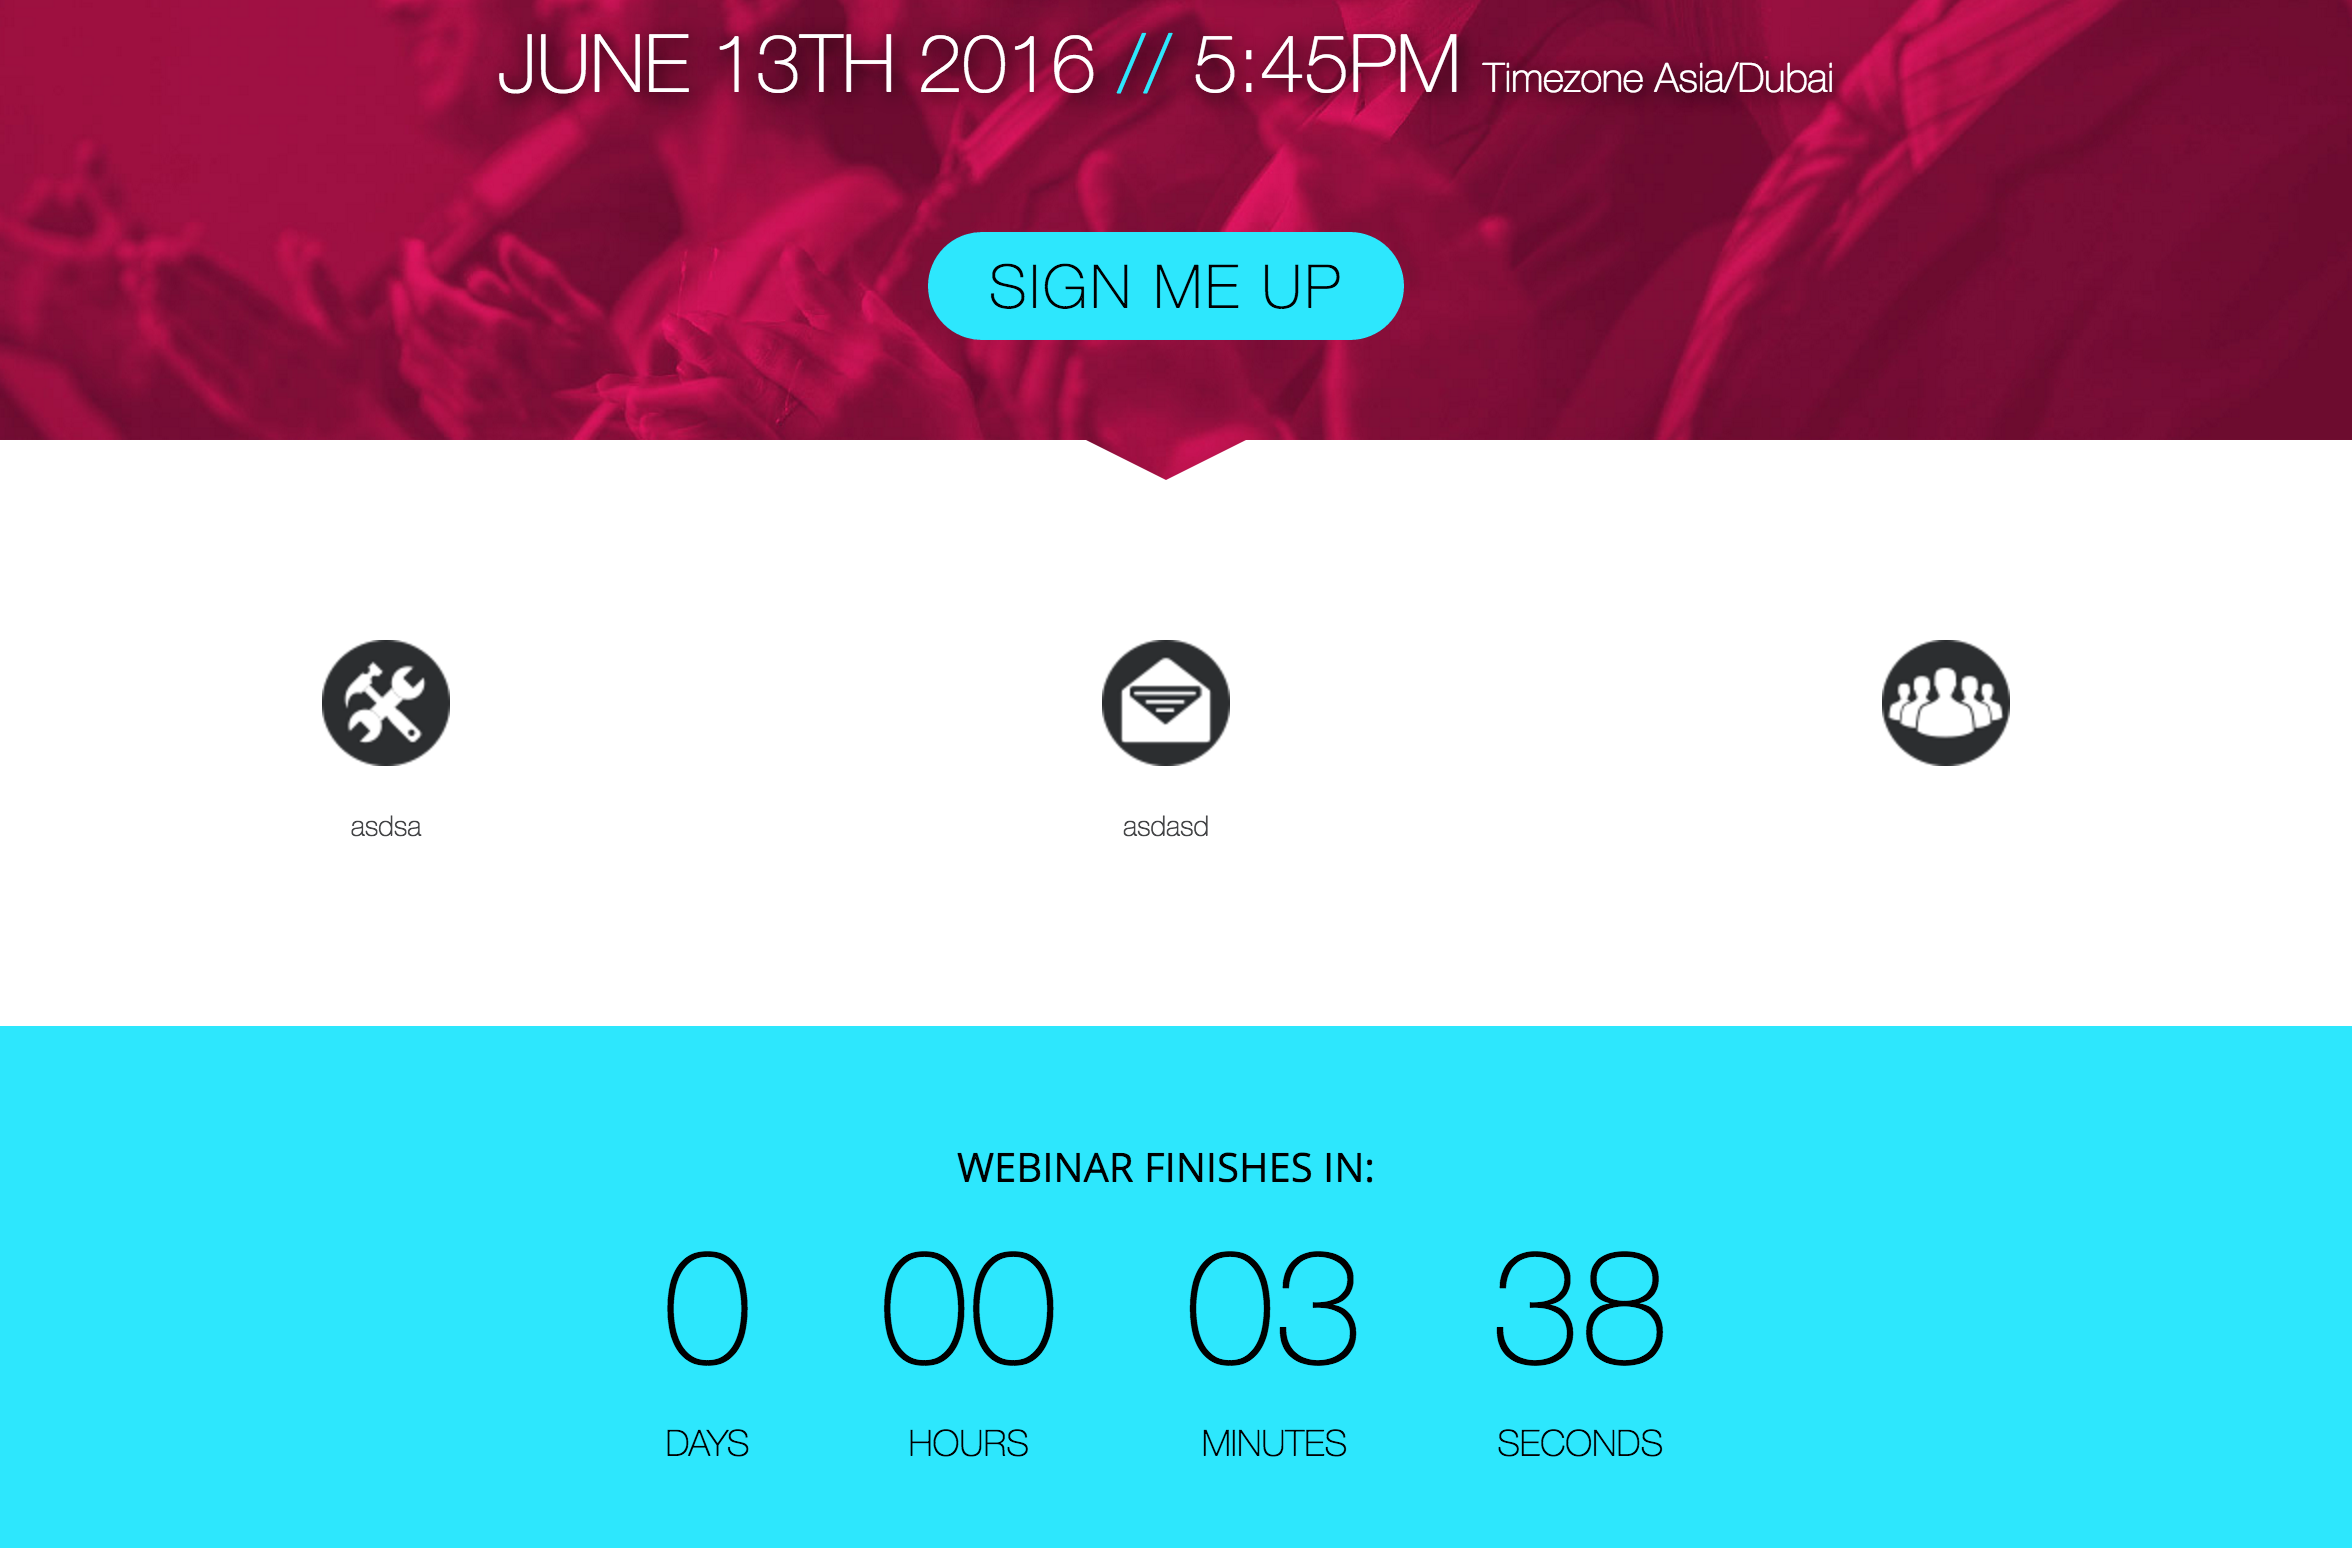
Once your Webinar ends, your landing page will still be accessible to potential attendees. You can add the dates to a furture webinar to allow those who can't make this webinar to choose another time and date.

The landing page will also allow potential attendees to watch a replay of your webinar (if you have activated the Evergreen Recording). Alternately; you can automate webinars so you do not have to host live.
Need help with setting up a landing page? Book a call with the Webinar Launch Team
